Create Job on Device
Enabling the Feature
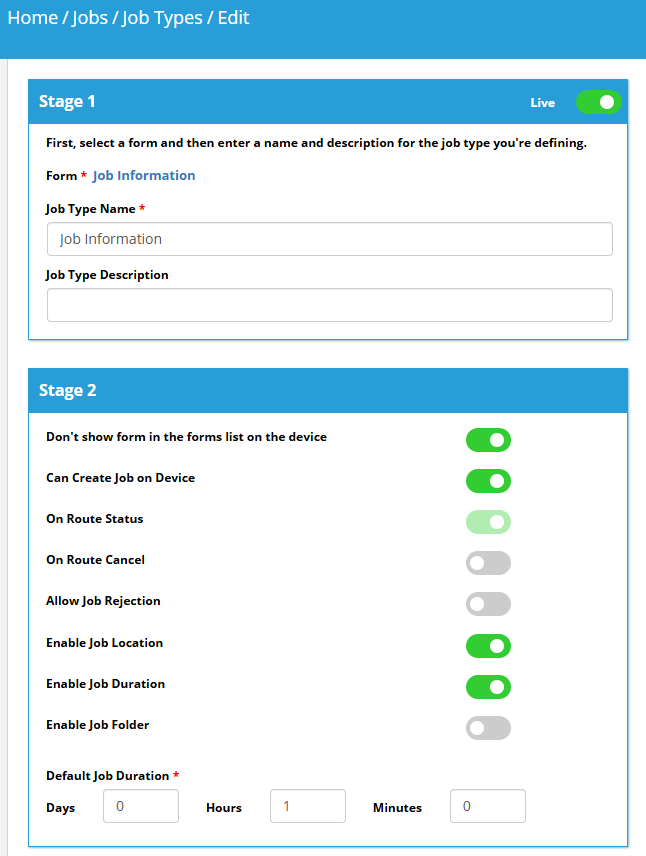
To use this feature, a Job Type must have the Can Create Job on Device option enabled.
Enable in Job Type
- Go to the Job Types page on the WorkMobile website.
- Create a new Job Type or edit an existing one.
- Toggle Can Create Job on Device to ON.
- Save your changes.
Only Job Types with this setting turned on will be available for on-device job creation. Mobile users will only see the + icon if at least one Job Type with this setting is visible to them.
Creating a Job on the Device
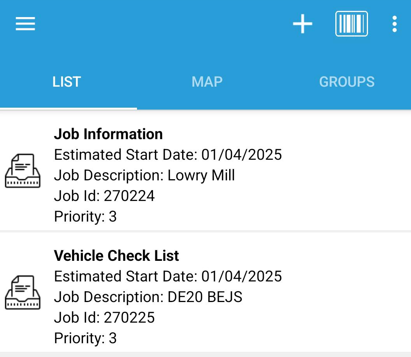
Tap the + Icon
From the Inbox view in the app, tap the + icon in the top banner.
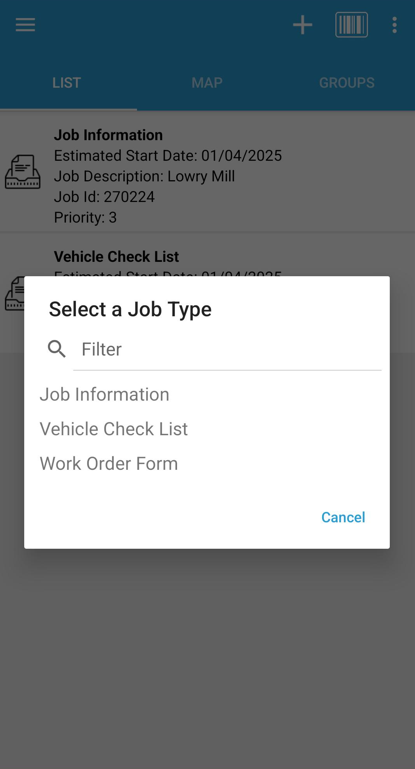
Select "Add New Job"
If multiple eligible Job Types are available, users will be prompted to choose from the list.
Complete Job Details
Users will be taken to the Job Details page where they can enter information for the following fields:
- Job Description
- Start Date
- Start Time
- Job Duration
- Job Location
- Job Folder Path
- Priority
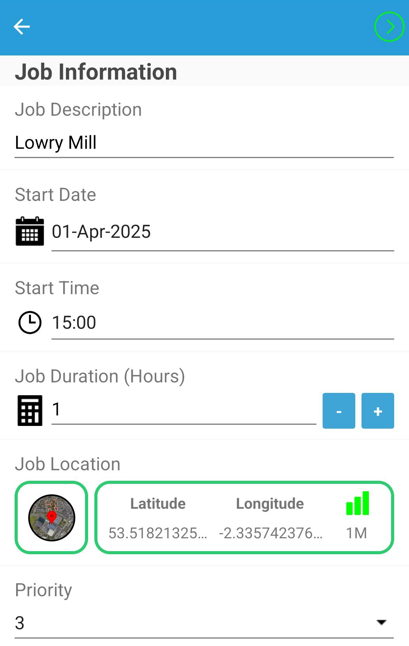
Certain fields, such as Job Duration, Job Location and Job Folder Path will only appear if enabled for the chosen Job Type.
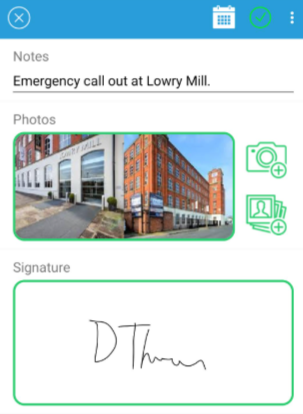
Fill in the Form
After entering job details, users press Next to open the associated form and complete it as usual.
Users can return to the Job Details screen at any time without cancelling the job by using the Appointment Info icon in the top bar.
Drafts, Outbox, and Upload
If the job is saved to Drafts or sent to the Outbox, a Job ID will not yet be assigned. Users will be able to differentiate between these and office issue jobs as the Job ID will state “Reactive”.

These jobs can be deleted from within the Drafts folder.
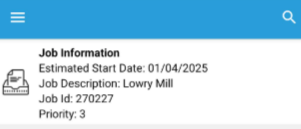
Once uploaded, the job is automatically assigned a unique WorkMobile Job ID.
After Upload: What Happens Next?
Once the job is submitted from the device:
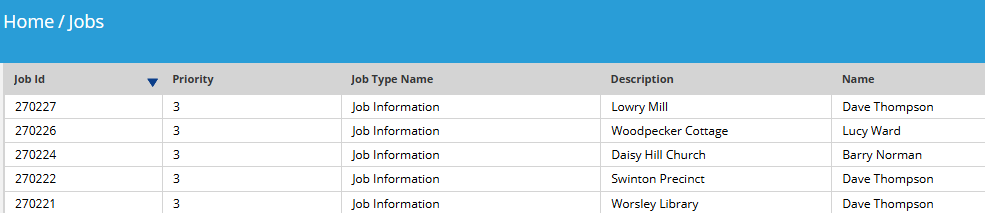
- The job appears in the Job List, marked with the new Job ID and a Completed status.
- It is also added to the Job Scheduler in the WM2 Portal, positioned according to the Start Date, Start Time, and Job Duration provided.