
Email Notifications
In this example, we will set up a notification to send the completed record in the email body and as an attachment. The notification will set up to be triggered by the form you enter notifications through, this is important to note as this cannot be changed.
Setting up the Notification
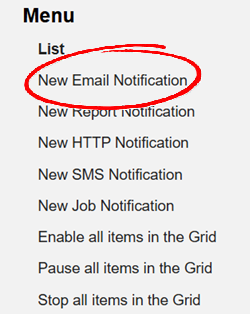
To enable an email notification, simply click on New Email Notification from the left-hand menu on the Notifications page.
Sender
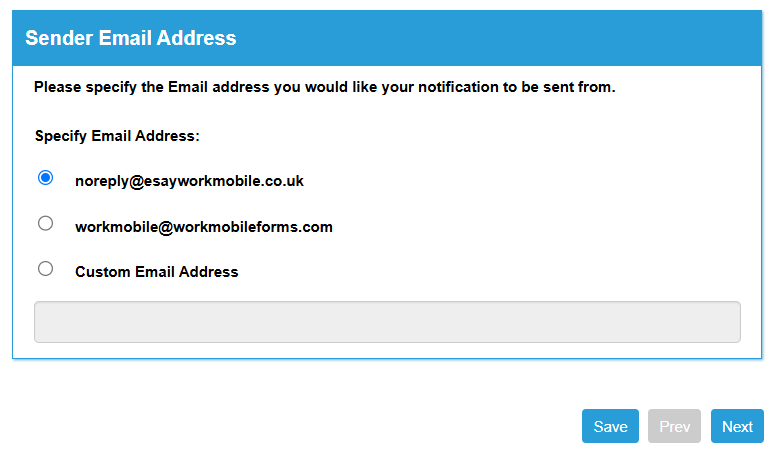
You will be asked to specify an email address that the notification is sent from. The default is a no reply email address, but if you want your recipients to be able to respond to the email they receive you will need to pick either the account email address or a custom email address.
Recipient
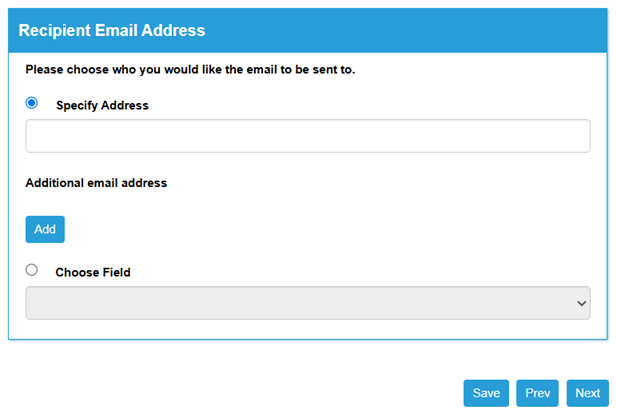
You can specify one or more email addresses to be the recipients for the email notification, and they can include the email address that is sending the notification.
If you don't know the email address - for example, it is a customer email for a receipt - you can select Choose Field and choose one of the controls on the form to use as a recipient. Please note that if no email address is entered into the chosen field, no notification will be sent out.
Email Subject
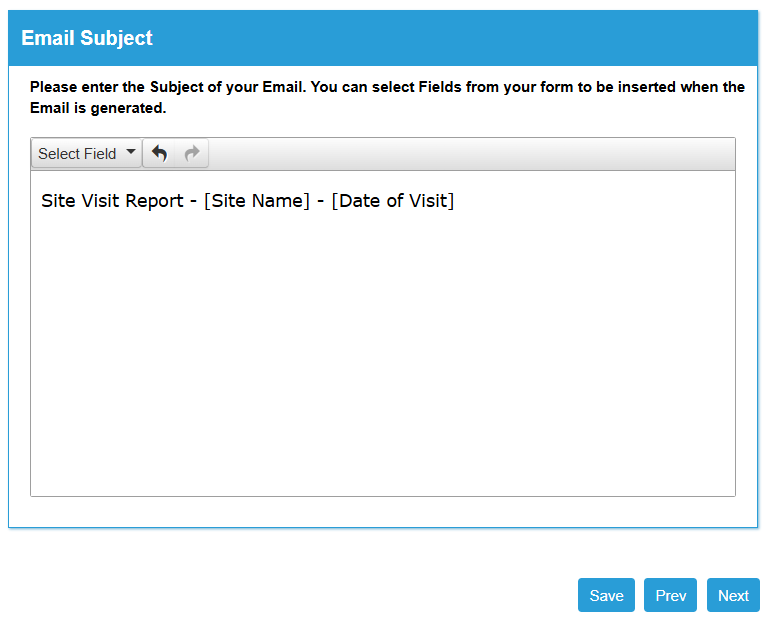
You can manually type into the email subject editor, or you can click Select Field to choose a field on the form to populate the subject with. This could be useful if you were sending a notification based on job status.
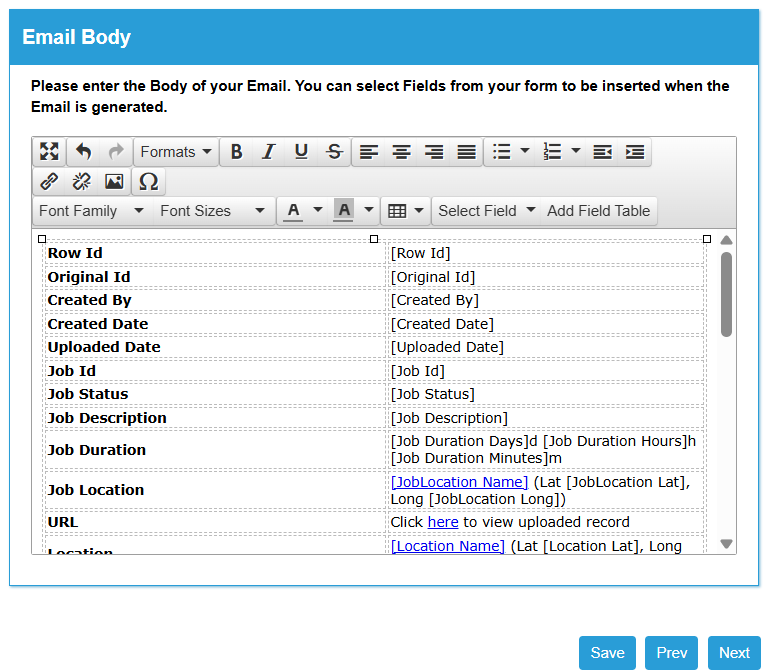
Email Body
As with the email subject, you can manually type a message into the email body. There are many formatting options for text, and you can also add images and fields from the form using Select Field as with the email subject.
For the purposes of this example, you should click Add Field Table which will add all of the fields from the form in a pre-formatted table.
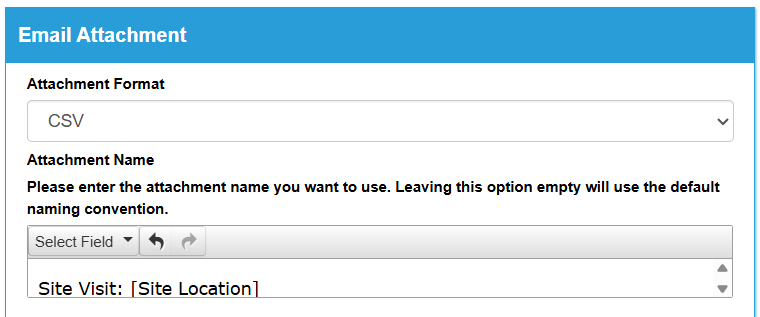
Email Attachment
You can add a file attachment to the email that includes the form data within it, which can be in .csv, .xml, and .html file formats. Using the editor, you can create an attachment name using the text editor and the Select Field drop-down option. Leaving this option blank will mean attachment names use the default naming convention.
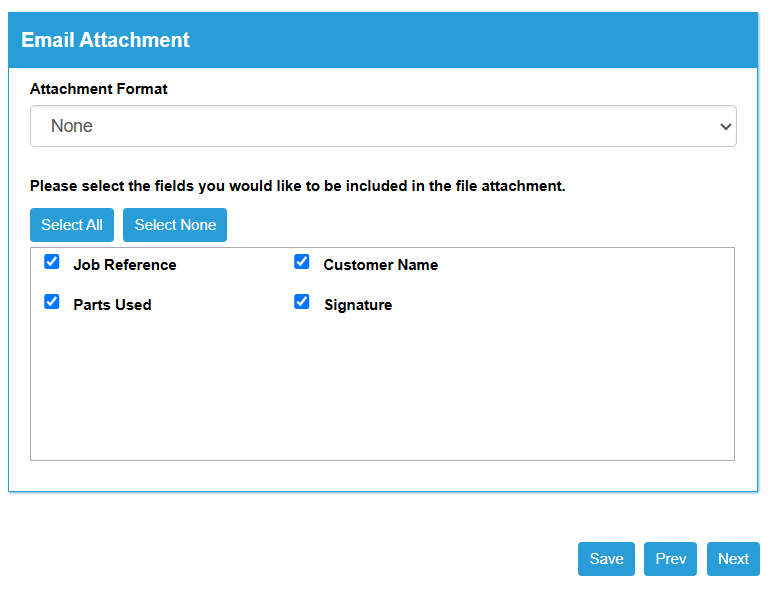
You can change which fields are displayed within the file attachment by ticking and unticking the fields under Fields to be included in the Attachment.
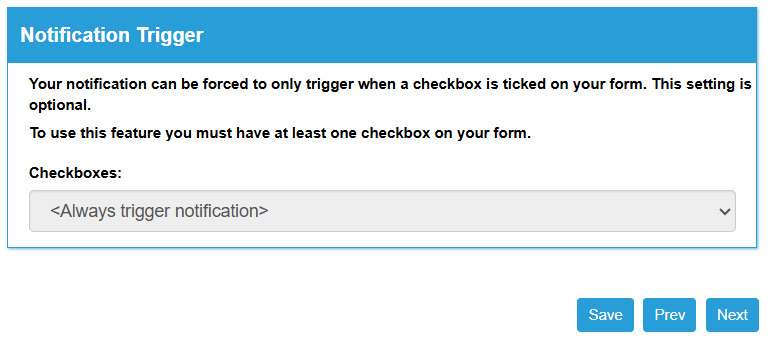
Notification Trigger
All notifications that you set up are set to always send out by default, however if you only want them to go if certain criteria is met then you can select any checkbox within your form to be the Notification Trigger.
Job Status Notifications
If your form is attached to a job, you can choose to send a notification at each different stage:
- Unallocated
- Allocated
- On-Device
- On-Route
- In-Progress
- Completed
- Rejected
- Closed
You may not want all of these statuses to trigger a notification, and you can tick and untick to match your business needs. It may be useful for checking the progress of workers in the field.
Testing the Notification
Now you have set up the notification, you will want to see that it works. All you need to do is fill in the form on the mobile device and press Send/Receive to send it to WorkMobile.