
Creating a Job Type
In this example, we've already created a WorkMobile form to mimic the current paper-based job card.
Next we need to set up a Job Type which basically defines which fields on the form the office-based worker completes, and which fields are to be completed by the field-based worker.
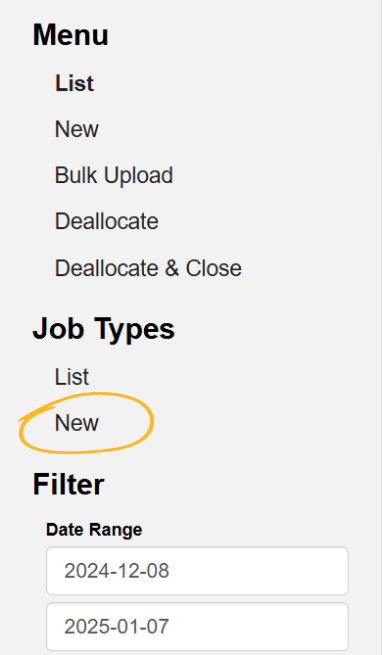
To start this, you need to select Home from the top navigation bar, Jobs from the left-hand menu, and New from the left-hand Job Type menu.
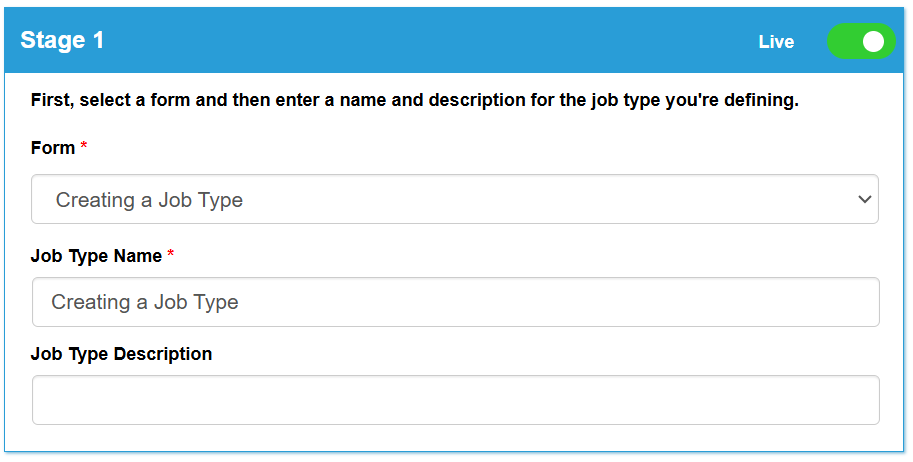
The screen is divided into six stages, the first of which is to select a form to be used to define the job type. Attach the form that you created to mimic the paper job card, here we chose the form Job Card from the drop-down list. You will now give the Job Type a Name and Description. In this section you will notice there is a checkbox within the title banner, Live, which is checked by default – this means that once saved the job type will be live and ready to be used.
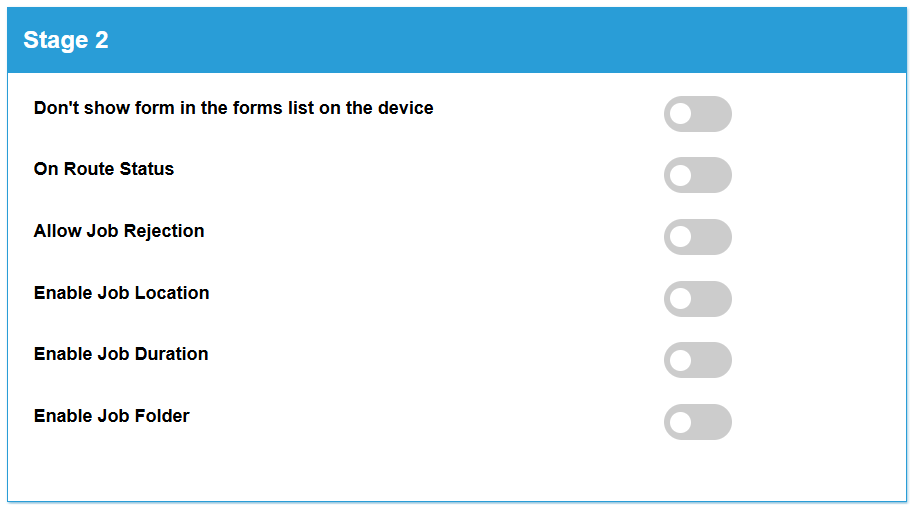
Stage 2 includes a number of checkboxes which are all unchecks by default and can be turned on and enabled on your job type. The first is Don’t show form in the forms list on the device – this can be useful as it stops the mobile users being able to fill in and submit the form unless it has been allocated to them through a job. The second is On Route Status, in later sections we will look at Job Statuses and the On Route Status will be described in more detail. The next is Allow Job Rejection, which, once enabled gives the mobile user to ability to reject any jobs that have been allocated to them. The remaining checkboxes, Enable Job Location, Enabled Job Duration and Enable Job Folder are all covered in detail in later sections.
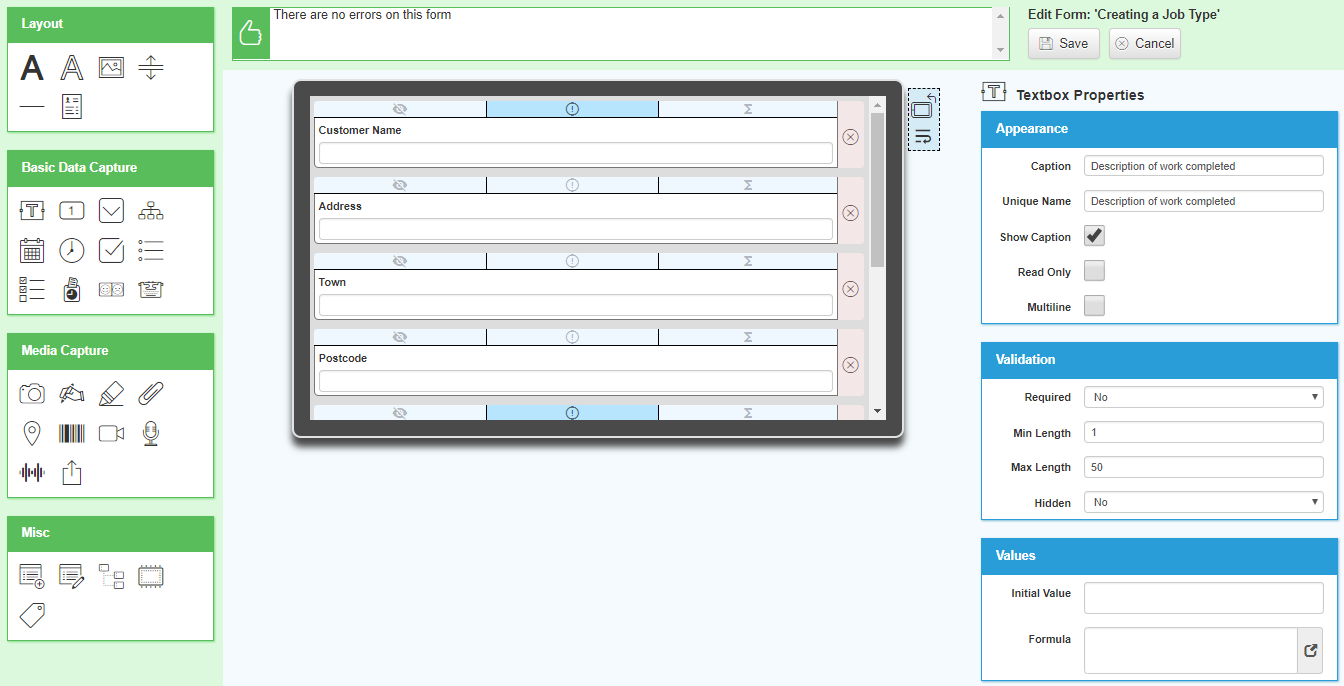
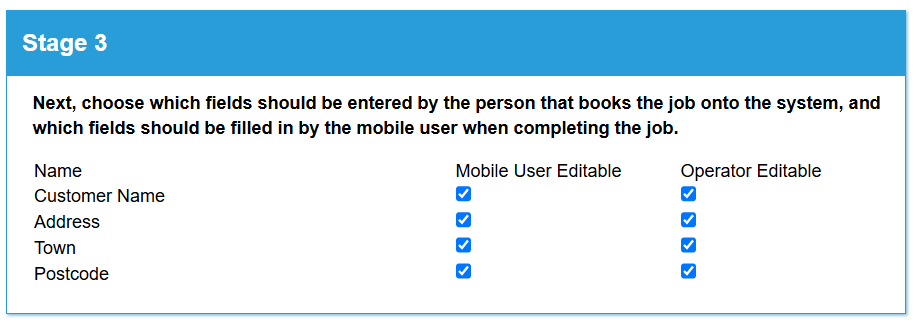
Stage 3 is where you define which fields are to be filled in by the office-based worker (here called the Operator), and which are to be filled in by the field-based worker (the mobile user). Some fields can only be Mobile User editable, for example Timestamp controls and Photo controls, whereas some are only Operator editable such as the File Attachment controls. You can also have fields which both users can edit.
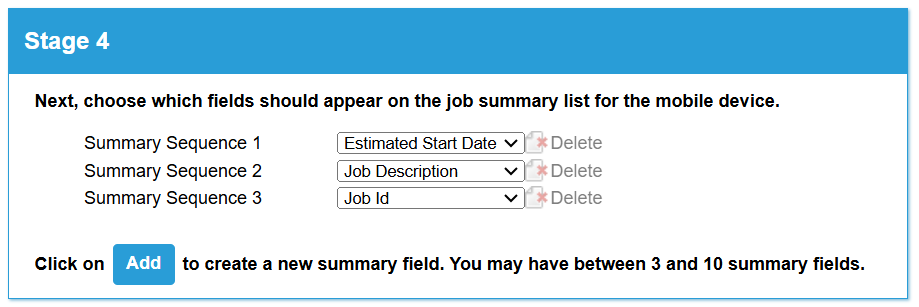
Stage 4 allows you to configure which fields your mobile user will see on the job summary screen on their mobile device. You'll notice that there are additional fields in this list such as Estimated Start Date. These are standard fields that the system adds automatically to all job types.
Finally, stage 5 allows you to decide how you want the job summary page to look, whether you use the default view or you select and create a customised view using the text editor.

Once the job type is configured, click Submit at the bottom of the page. Now you're ready to start booking jobs!