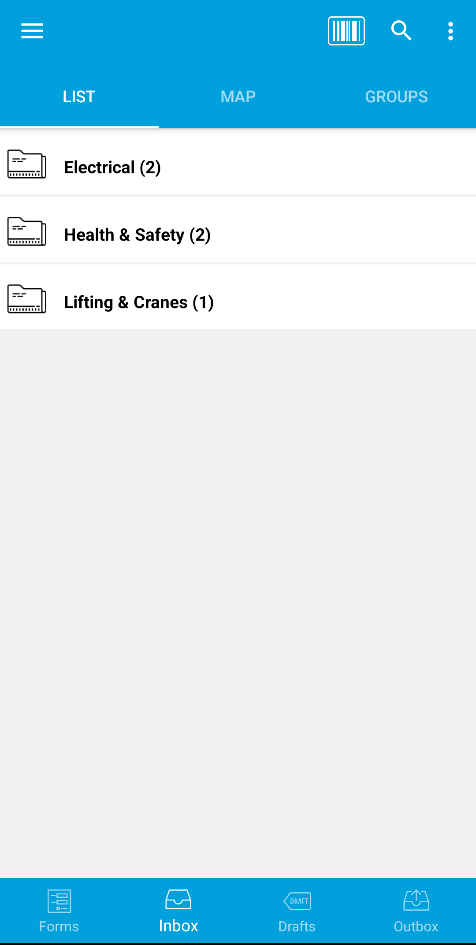
Folders
Folders allows you to group forms and jobs into customised folders and subfolders, providing a structured and intuitive way to manage your projects.
Assigning Forms to Folders
Access the Form Dashboard
Navigate to the Forms page on the WorkMobile website.
Select the form you wish to assign to a folder.
Set the Folder Path
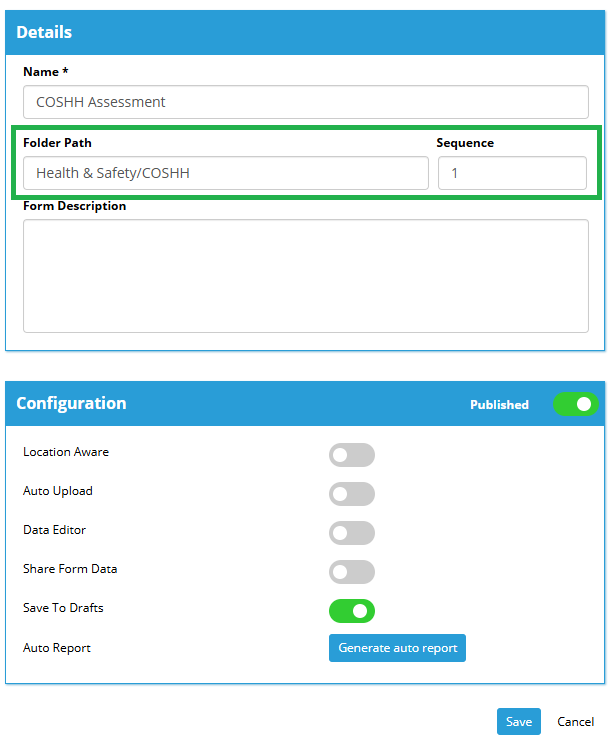
Click the Set Folder Path option below Form Name
Enter the desired folder path using slashes (/) to denote subfolders. Folder names can be up to 150 characters. For example:
Health & Safety/COSHH
Assign Sequence Numbers
Use the Sequence field to assign a number to the form.
Forms within the same folder will be ordered based on their sequence numbers, with lower numbers appearing first.
Save the Form
Click Save to apply the changes.
The form will now appear in the designated folder on the mobile app.
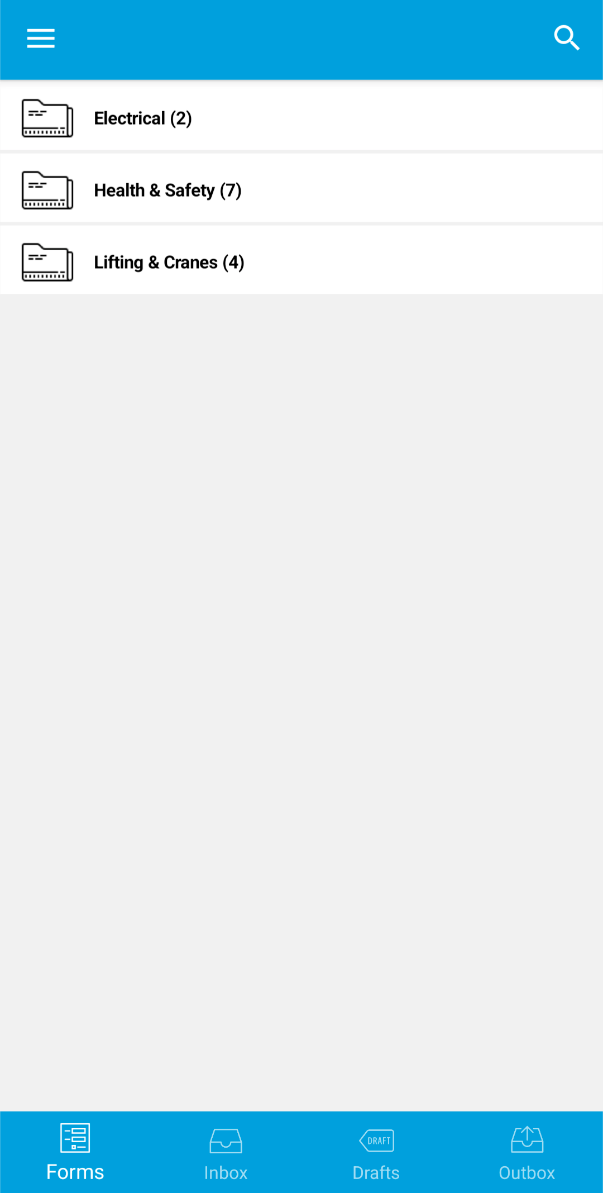
Any forms without folders will appear below the folder structure.
Assigning Jobs to Folders
Create or Edit a Job Type
Navigate to the Job Types page and select New or edit an existing Job Type.
Enable Job Folder
Toggle the Enable Job Folder Path option on.
Enter a Default Job Path which will be used by default on all jobs for this Job Type. It can be changed when creating individual jobs.
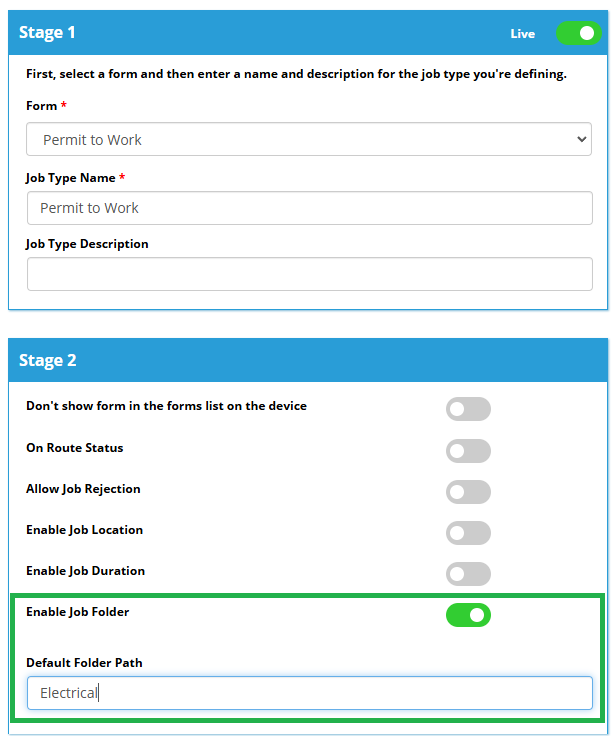
Job Types will automatically inherit a Folder Path from the associated Form when Job Folder Path is enabled.
Create a Job
Navigate to the Jobs page and select New.
Set the Job Folder Path
In the job details, find the Job Folder Path field.
Enter the desired folder path, like forms. For example:
Electrical/Permit to Work
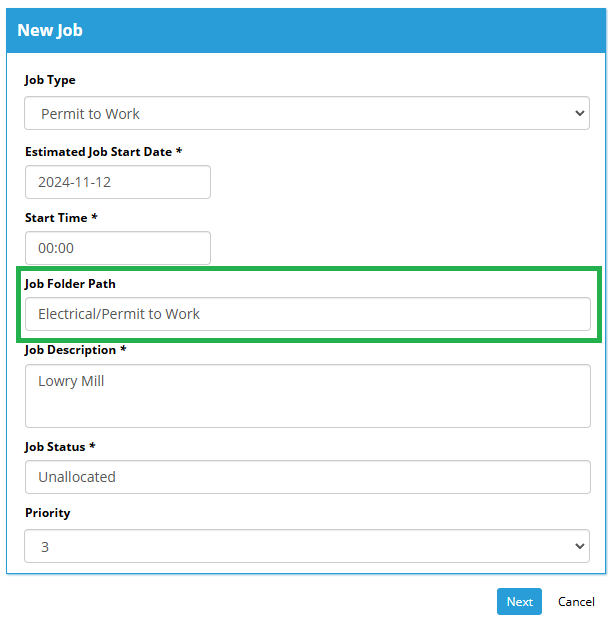
There is no option for Sequence for Job Folders.
Complete Job Details
Fill in the remaining job details as required.
Click Save and Allocate to create and allocate the job.
The job will now be organised into the specified folder on the mobile app.
