
Quick Start - Building Your First Report
The report builder is actually a Microsoft product embedded within WorkMobile called SQL Server Reporting Services (SSRS), and although extremely flexible, requires some level of knowledge in order to use. You can find more about SSRS here
Before we can build a report however, we need to have a WorkMobile form built onto which we'll attach our report. You'll also need to complete a couple of records as well in order to actually view the report with some data in it.
To keep things simple let's build a simple report containing a few widgets
The form has the following widgets placed within it:-
| Widget | Caption |
|---|---|
| Heading | Holiday Request Sheet |
| Textbox | Name |
| Calendar | First date of leave |
| Calendar | Last date of leave |
| Number | Total number of days requested |
| Signature | Signature |
Once you've built it, it should resemble the below:-

- In order to create your first report, you must activate reporting services by selecting Reports from within the left-hand menu of the homepage.
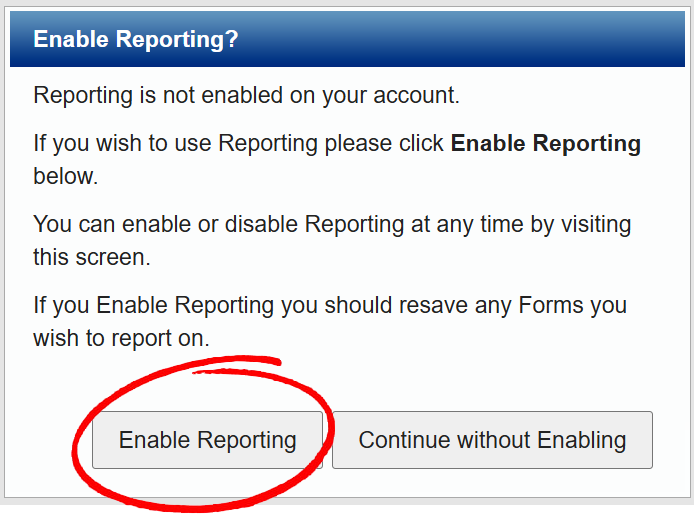
- An Enable Reporting? popup should appear on your screen
- Select Enable Reporting
- From within the Menu section, select Design Report. This will allow you to either launch report builder from your chosen browser or download report builder to your desktop.
- Open report builder, you will be met with the "Getting Started" screen, select "Table or Matrix Wizard".

- From the window that appears select the Browse button.

- The Select Data Source pop up should appear. From this window open your reg folder and select the form that you want to create the report for and click Open.
- You will now be returned to the New Table or Matrix window.
- On the next page drag the field Id from the list on the left-hand side into the box on the bottom right called Values. This will add a record into the Values box called Sum(Id).

- Click Next.

- Click Next on the Choose the Layout page.

- Click Finish on the Choose a style page.

This has set up the foundations of your report with the data set added, you can now make a start on designing your report.
- The main Report Builder Screen will appear on your screen, ready for editing, and the data fields will appear in the Report Data list on the left.
- Delete the Id table and the text boxes labelled Click to add title and [&ExecutionTime]. Delete the Page Footer by right clicking the bottom of the page and selecting Remove Page Footer. This is so we have a blank canvas to build our report on.
- Insert a new table by selecting Insert within the top menu bar followed by Insert Table. The table that appears will behave much like an Excel spreadsheet, and the cells can be manipulated by changing fonts, colors, size and borders.

- The report should already have the Properties box visible, if not then select View from the navigation bar at the top of the screen and check the Properties box so that the report properties box appears on the right hand side.

- Highlight the all of the cells within the table and apply a border by selecting the border icon within the border menu.

- For our heading, highlight the cells within the first row and merge them by selecting Merge from within the top navigation menu.

- Select the row and type Holiday Request Sheet and adjust its appearance through the Font section located within the top navigation menu. Increase the size of the text and make it bold so it stands out on the report.
- If the text is too large for the size of the cell, you can increase the size of the row by selecting it and using the arrows to increase the height and width, alternatively you can adjust the size of the cell through the Properties panel.


- Within the row below the header, type Name and hover over the cell next to it and insert the Name field from within the list of field entries. This will pull the captured data through from the form. Repeat this step for the First date of leave, Last date of leave and Total number of days requested.


- The calendar fields on our report will automatically display in the American format, you can alter this by right-clicking the cell and selecting Expression...

- From within the expression text box, insert =format(CDate(Fields! Created_Date.Value),"dd/MM/yyy HH:mm") The field on your report should now display <<Expr>>
When you add the signature field to the report, you will need to add it as an Image so it doesn't display as a hyperlink when it comes to previewing it.
- To add an image, select Insert from within the top navigation bar, and then click Image

- This will change your cursor to a cross + with a small image next to it.
- This will open the Image Properties window.

From within the Select Image Source dropdown select External

Once you have done this, from within the Use this image dropdown, scroll down and select Signature
This will add a small Image icon in the left-hand corner of the cell.

Once you are happy with your report then hit Save and give your report a name.