
User Groups
You may want to control which mobile users can see which forms. This is useful if you have a large number of forms, and most users only need a few of them.
By creating a User Group, you can decide which users are in that group, and which forms will be visible to those users. For example, you may create different groups for different departments.
A Default User Group is automatically generated when a WorkMobile account is created and each mobile user created is automatically placed in it. When a new form is created it is automatically visible to the Default group.
Creating a User Group
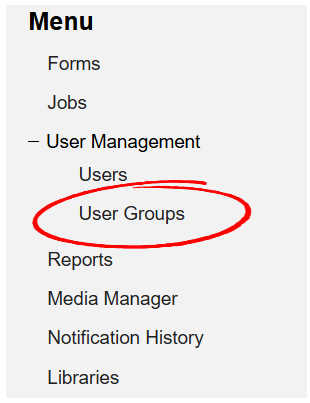
From the Dashboard, expand User Management and click on User Groups from the left-hand menu.
The User Group list view will show that you have at least one User Group set - the Default group. All mobile users are set to be included in the Default group unless you edit them otherwise.

User Group Details
Click New on the left-hand menu and type the Name for your new user group, e.g. Sales Team.
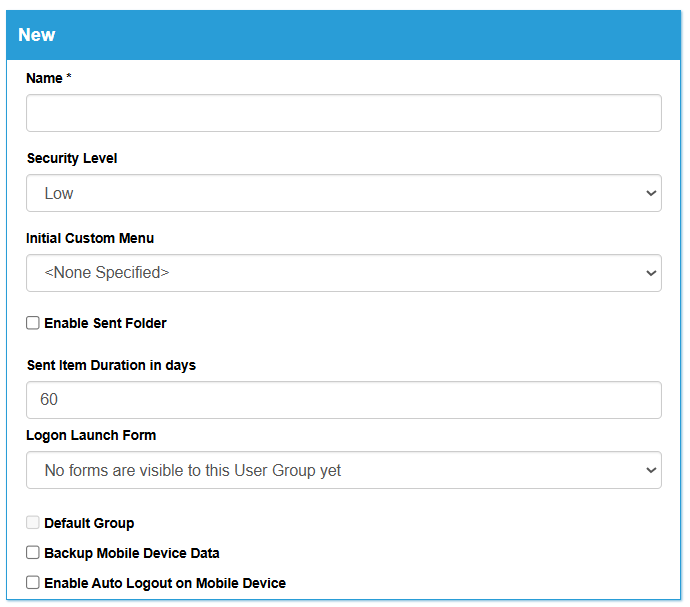
The following explains each of the options available:
- Name
This is the name assigned to the user group - Security Level
This is the security assigned to this User Group and all users within the Group. For more information about the different security levels click here. - Initial Custom Menu
Select the Custom Menu you want to default to when accessing the web portal. - Enable Sent Folder
Enabling the Sent folder activates a feature on the mobile app which causes all sent items to be stored on the mobile device for review at a later date. A new icon will appear on the mobile app called Sent.- Sent Item Duration in Days
With the Enable Sent Folder activated, you can specify here how many days data in the Sent Items box on the mobile device should be retained.
- Sent Item Duration in Days
- Logon Launch Form
WorkMobile can be configured to always launch a particular form immediately following login to the mobile App. The drop down selector allows you to pick any form from your forms list. - Backup Mobile Device Data
Enabling this activates a feature on the mobile App which allows the user to create a local back-up of the WorkMobile data on their device. - Enable Auto Logout on Mobile Device
Activates a feature on the mobile app which will force the mobile user to logout of the App after a set period of time. The mobile user will not be logged out if they are part way through completing a form or job. - Auto Logout Time
With Enable Auto Logout on Mobile Device enabled, allows you to specify the number of hours that should elapse before the user is logged on.
Job Allocation Settings
If your users are going to be completing work through WorkMobile Jobs, you can control some settings via the User Group they belong to. In the table below there is a description of the different settings.
| Setting | Description |
|---|---|
| Maximum jobs on device | By setting a value for this, you can control how many jobs a user can see on their mobile device. It acts as a drip feed, for example, your users only get the number of jobs they can be expected to complete in a day on their device at once. |
| Allocation order | There are three different orders in which to allocate jobs to your users. Job ID - Jobs will download to the mobile device in the order of Job ID. Priority and Job ID - Jobs will be ordered first by their priority level, then by the Job ID number, and will download to the device accordingly Estimated Job Start Date - Jobs will be ordered by their start date, and will download accordingly onto the device Please note, a Job with a priority level of 1 will be allocated before any other jobs regardless of Allocation order. |
| How soon can jobs be delivered? | This determines how many days before the Estimated Job Start Date a job can be delivered to the mobile user's device. |
Login visibility
If you have secondary logins, you can control which User Groups they have access to via these settings.
Assigning a Mobile Users to a User Group
Once you have set up your User Groups, you can assign your Mobile Users to the required group. Please note that Mobile Users can only be allocated to one User Group at a time.
- Select Users from the User Management option within the left-hand menu of the homepage
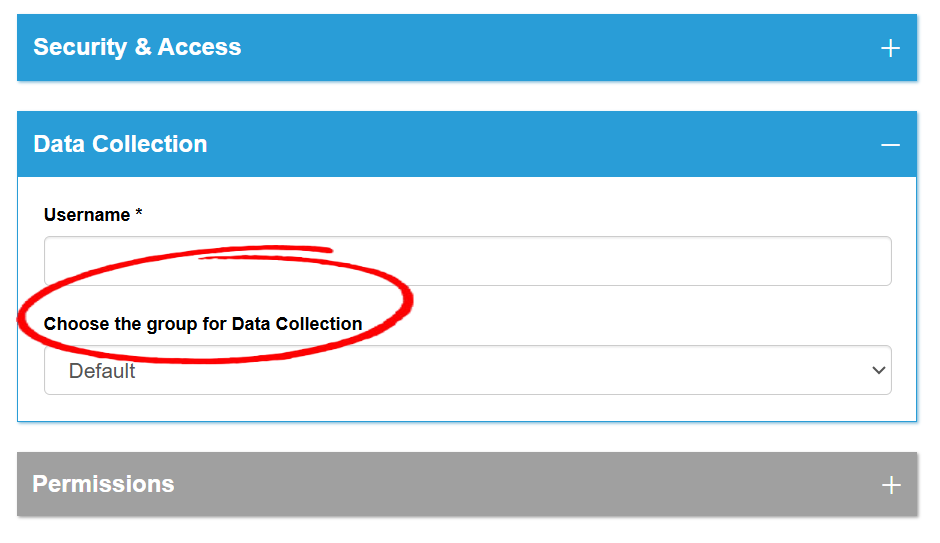
- Select a user with Data Collector access from the Users Grid
- Expand the Data Collection tab
- Select the User Group from the User Group drop-down list (Choose the group for data collection)
- Click Save at the bottom of the page
Making a Form Visible to a User Group
Forms can be allocated to multiple User Groups, following the below steps:
- Select Forms from the left-hand menu
- Select the form you wish to allocate from the Forms Grid
- Select the cog next to the User Groups option from the left-hand menu on the Form Dashboard
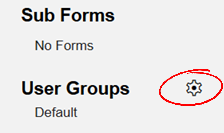
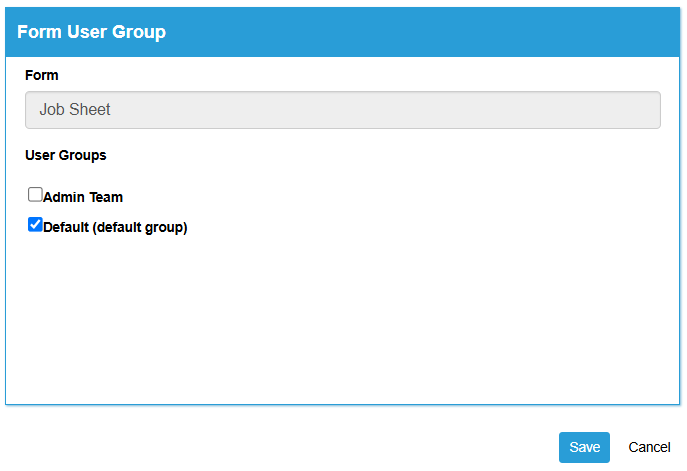
The name of your form is displayed along with all the User Groups you have created. You can make the form visible to as many User Groups as you wish by ticking the checkbox and clicking Save.
Only the users that are allocated to the User Group can see the form on their device.