
Building your first WorkMobile form
Building a Simple Form
To make things simple, we'll be using a hypothetical form based upon a simple worksheet. This form will contain the following fields:
| Field | Data Type |
|---|---|
| Customer Name | Text |
| Address | Text |
| Visit Date | Date |
| Visit Type | Text Selection (List) |
| Hours Worked | Number |
| Customer Signature | Signature |
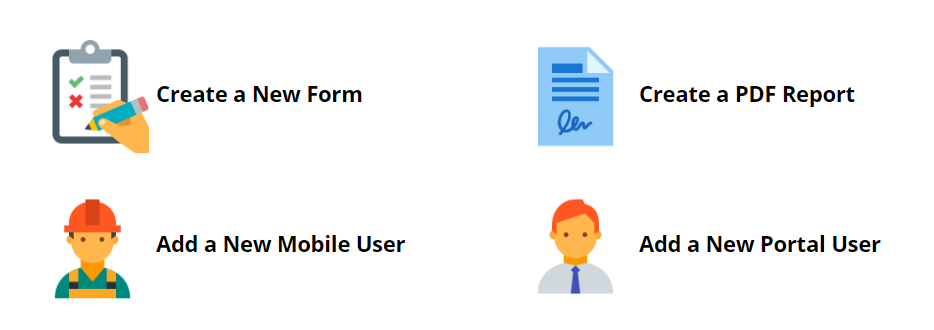
To begin, once you’ve logged into your WorkMobile account the first screen you should see is the WorkMobile dashboard.
- Click the Create a New Form button and you’ll be taken to the new Form Dashboard
- On this page, you can enter the name of the form and a meaningful description.
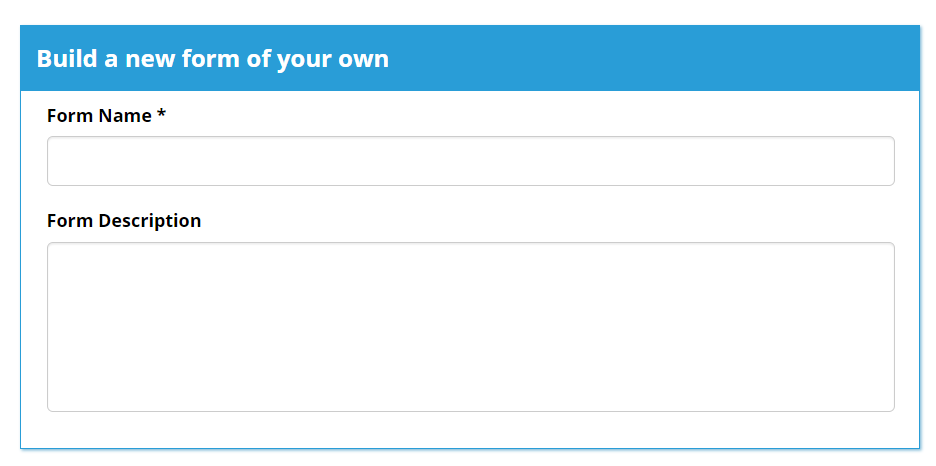
- Enter Job Sheet into the Form Name field.
- Click Save
The Form Builder
Before we continue, let’s take a minute to look at the different components that make up this screen to understand how this works.

The form builder is basically made up of the following key areas: -
1.Toolbox
The toolbox contains all of the different tools that you’ll use to build your WorkMobile form. You can hover your cursor over each tool to find out its name. For example, hover over the first tool in the Basic Data Capture section, the Text Box tool. The textbox tool does pretty much what is says on the tin. It allows you to capture text on your WorkMobile form.
So, for example, in our example, we want to capture Customer Name by allowing the engineer to engineer to write the customer name. We’d therefore use the Text Box tool to do this.
You can find a full list of widgets here
2. Canvas
The canvas is essentially a virtual mobile device which you use to build up your form. To do this you simply grab a tool from the toolbox and drag it onto the canvas. The canvas allows you to re-arrange and delete tools from the form should you need to.
3. Properties Panel
The properties panel allows you to configure each individual tool once it’s been placed onto the canvas. For example, you might drag a Text Box tool onto the canvas. The properties panel will allow you to give it a meaningful name e.g. Customer Name. You can also set properties should as the minimum and maximum number of characters that you’ll allow your users to enter. Each tool has its own unique set of properties.
4. Information Window
The information window lets you know if there are any problems with your form. Any problems are reported here giving you the opportunity to correct before saving your form.
OK, enough with the theory, let’s get building.
Adding the Customer Name Field
- Drag a Text Box from the toolbox onto the canvas.
- On the properties panel enter Customer Name into the Caption field. You’ll see that the caption for the tool on the canvas will change to reflect this.
A Quick look at a tool on the canvas
Let's take a moment to look at the properties panel now that we've placed a widget onto the canvas. Although each widget share certain common properties, some widgets will have properties that are unique to the widget type. The screenshot below shows you the properties that relate to a Textbox. You can find out more about what each properties do in other parts of the Help Centre.
At his point, it's also worth pointing out that once you place a widget onto the canvas, the widget itself is decorated with a number of indicators that don't appear on the mobile app, but are instead intended as a guide to help the form designer. These are described below.


1. Hidden/Not Hidden It’s sometimes useful to have a tool on the form which is hidden by default and only made visible when a certain action happens. If you set the hidden property of the tool in the properties panel, then this icon will be highlighted.
2. Required/Not Required
For any type of input, you can specify by default if the field is mandatory or not, i.e. the user has to input a value before proceeding. If you set the required property of a tool in the properties panel, then this icon will be highlighted.


3. Formula present
Once you become familiar with WorkMobile, you’ll want to make your forms even more powerful by using formulas to carry out more advanced validation or calculations. If you’ve entered a formula into a tool, then the formula icon will be highlighted.
4. Remove
Shouldn’t really require explanation but for completeness, removes the tool from the canvas.
So, as you can see, the icons give the form designer some visual indication regarding the property configuration for each tool on the canvas.
Adding the Address Field
- Drag a Text Box from the toolbox onto the canvas.
- On the properties panel enter Address into the Caption field.
- Click Multiline in the Appearance section of the properties panel. An address is usually entered over a number of lines so this configures the text input box to behave differently and allow multiple lines of text to be added.
- Set the Max Length value in the Validation section of the properties panel from 50 to 300. This increases the number of characters the user can enter for the address from 50 to 300.
Adding the Visit Date Field
For the visit date, we could use a Text Box control again. However, this means more typing for the user and we’d need some way to ensure they’ve entered a valid date in a consistent format. For this reason, we’ll use a calendar tool which is better suited for the task.
- Drag a Calendar
 from the toolbox onto the canvas.
 - On the properties panel enter Visit Date into the Caption field.
Adding the Visit Type Field
- Again, we could simply use a text box here, however this company has 3 different types of visit that it makes which are installation, service and repair. It would make more sense therefore to allow the user to pick from a list of options. Not only does this require less typing again, it also means that the data you capture is consistent.
- Drag a Drop-down list
 from the toolbox onto the canvas.
 - On the properties panel enter Visit Type into the Caption field.
- To add the potential options, you simply type each option into the Entries box located in the
Values section of the properties box. Each entry, hit the Enter key on your keyboard to start a new line. The Entries box should look like this:

Adding the Hours Worked Field
Here, we want the user to enter a numeric value so we’re going to use a different type of tool that specialises in capturing numeric data – the Number tool. The number tool allows us to specify what type of number s are allowed, i.e. whole numbers only or numbers with decimal points. We can also define acceptable ranges i.e. must be greater than 0 and less than 10,000.
- Drag a Number tool
 from the toolbox onto the canvas.
 - On the properties panel enter Hours worked into the Caption field.
- Because we want the user to be able to enter a fractional amount into this box, select 2 Decimal Places from the Number Type selector in the Validation panel.
- We also don’t want the user to enter values less than 0 so type 0 into the Min Number field in the Validation panel.
Adding the Signature Field
In order to capture out customers signature using the touch-screen, we simply need to use one of the media capture tools – not surprising called the Signature tool.
- Drag the Signature tool
 from the Media section of the toolbox onto the canvas
 - On the properties panel enter Signature into the Caption field
That’s it. We’ve finished building our first WorkMobile form which should look like the screenshot below:
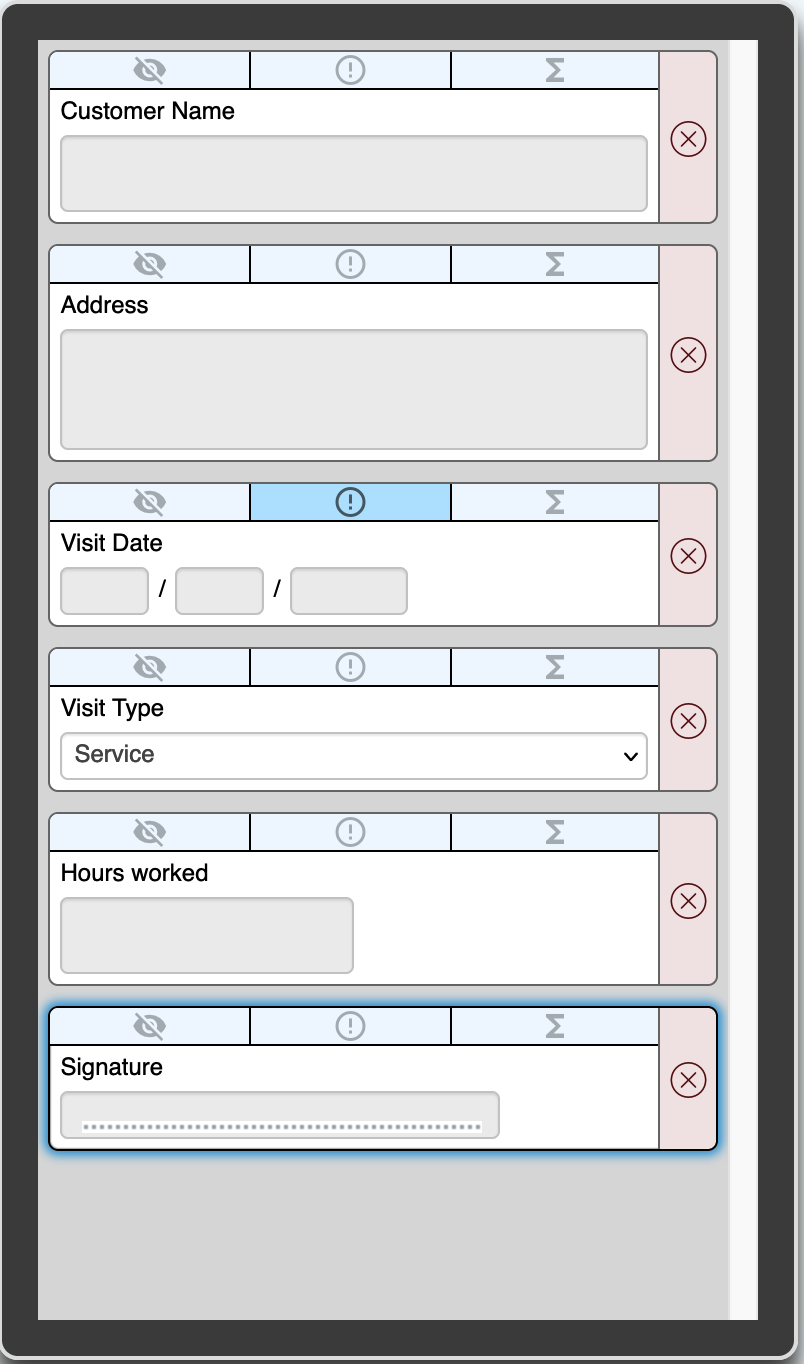
To save your form, click the Save button on the top right of the screen.

One Last Thing
Before your users can see the form that you’ve built on their mobile device, there’s one last action that you need to carry out; that’s publishing the form.
Once you’ve saved your form you should see a screen like this:
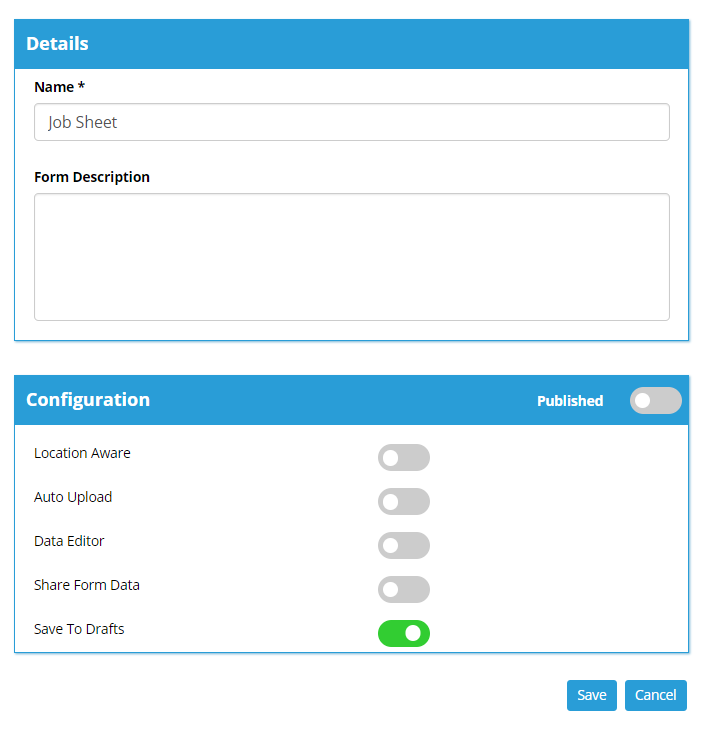
- To publish your form, simply click the Published toggle.

- Your form should now be published.
The next step in the process is to create a mobile user in order to allow a mobile field worker the ability to login to the WorkMobile app.