
Editing Data
The Data Editor provides the opportunity to change uploaded data after it has been uploaded. This creates a new row of data with a new record ID, but also keeps the Original ID which means that if necessary data can be reverted to the original values.
Example Customer Detail Change Scenario
In this example, we will be using the Data Editor to correct a misspelled Customer Name on a completed record. For this we will build a Customer Details form, submit a record and upload. In this scenario, the customer has called to inform you that their name is misspelled on a report they received from the company.
Building the Form
- Click New Form from the Forms Grid Page
- Type Customer Details in Name and Save
- Add a Textbox Control and caption it Customer Name
- Add a Textbox Control and caption it Customer Address
- Add a Textbox Control and caption it Customer Postcode and click Save

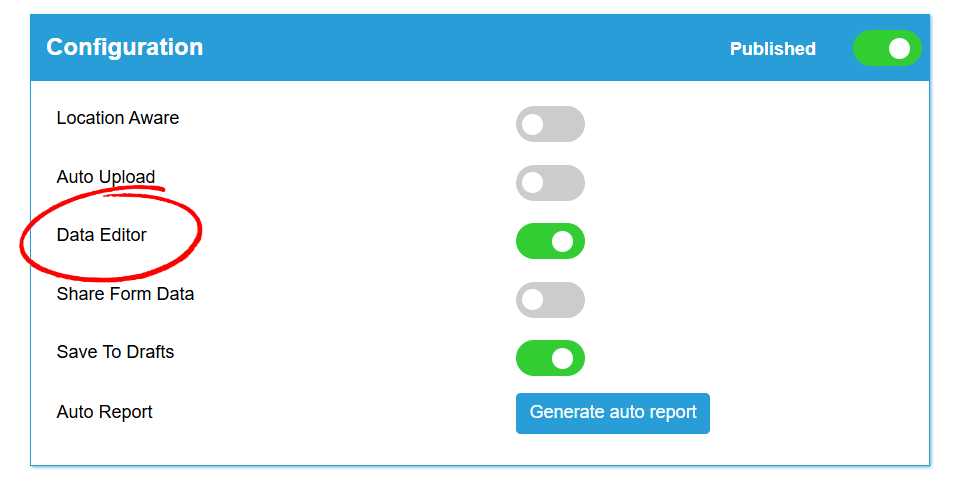
Once this is done, Publish the form and from the Form Dashboard enable the Data Editor
Next, login to the WorkMobile mobile app and submit a record for this form using the following entries:
| Field | Entry |
|---|---|
| Customer Name | Jhon Smith |
| Customer Address | WorkMobile Test Address |
| Customer Postcode | EX4 3PL |
Using the Data Editor
View the data for the form we just created, the row of data you have uploaded should be there with the misspelled name. In the table, there is a column headed Edit, to access the Data Editor you need to click on the Edit Icon.

The Data Editor should open in a pop-up window, with the fields that are editable ready to be altered.
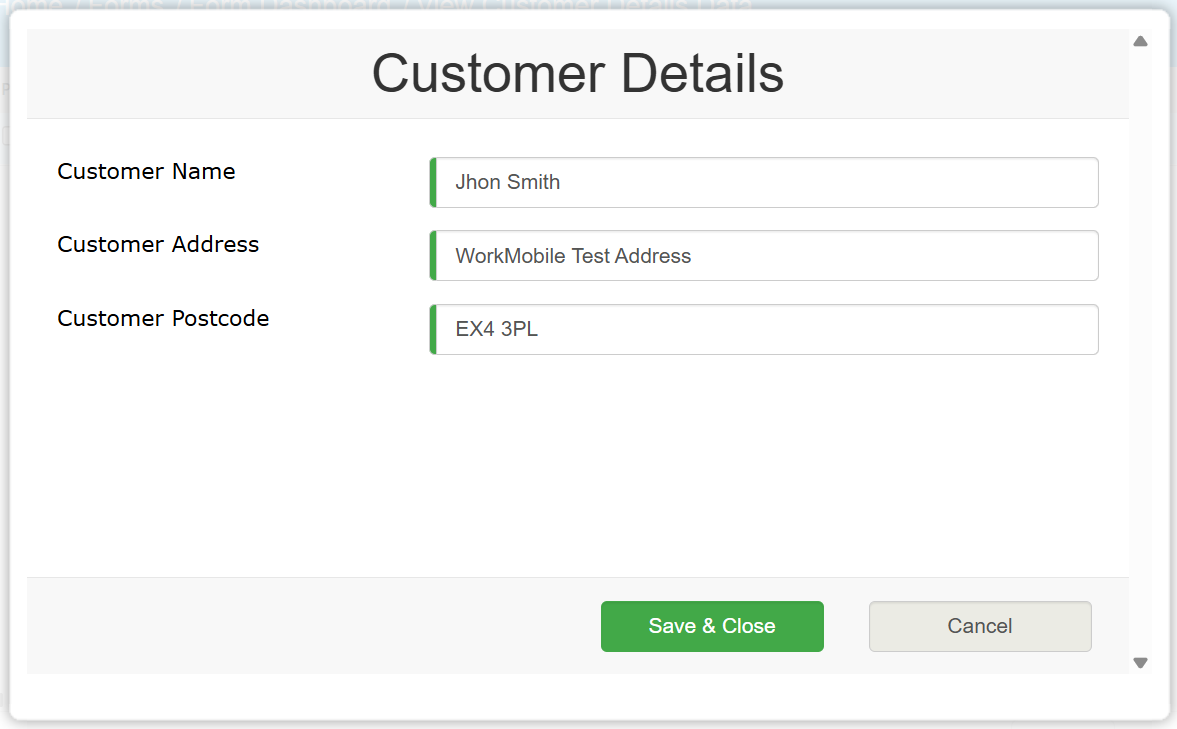
You should now be able to edit the data that appears in the fields, by clicking in the field and typing the correction. In this case the correction would be changing Jhon Smith to John Smith.
The Data Editor works for all controls except Signature control, Timestamp, and Background Recordings. Media controls (photo, audio, video) are file upload links and sketch controls can be drawn within the Editor itself.

Using Revision History Comments
Upon saving your edit, you'll be given the opportunity to optionally provide a comment in order describe the changes that have been made. These comments form part of the revision history.
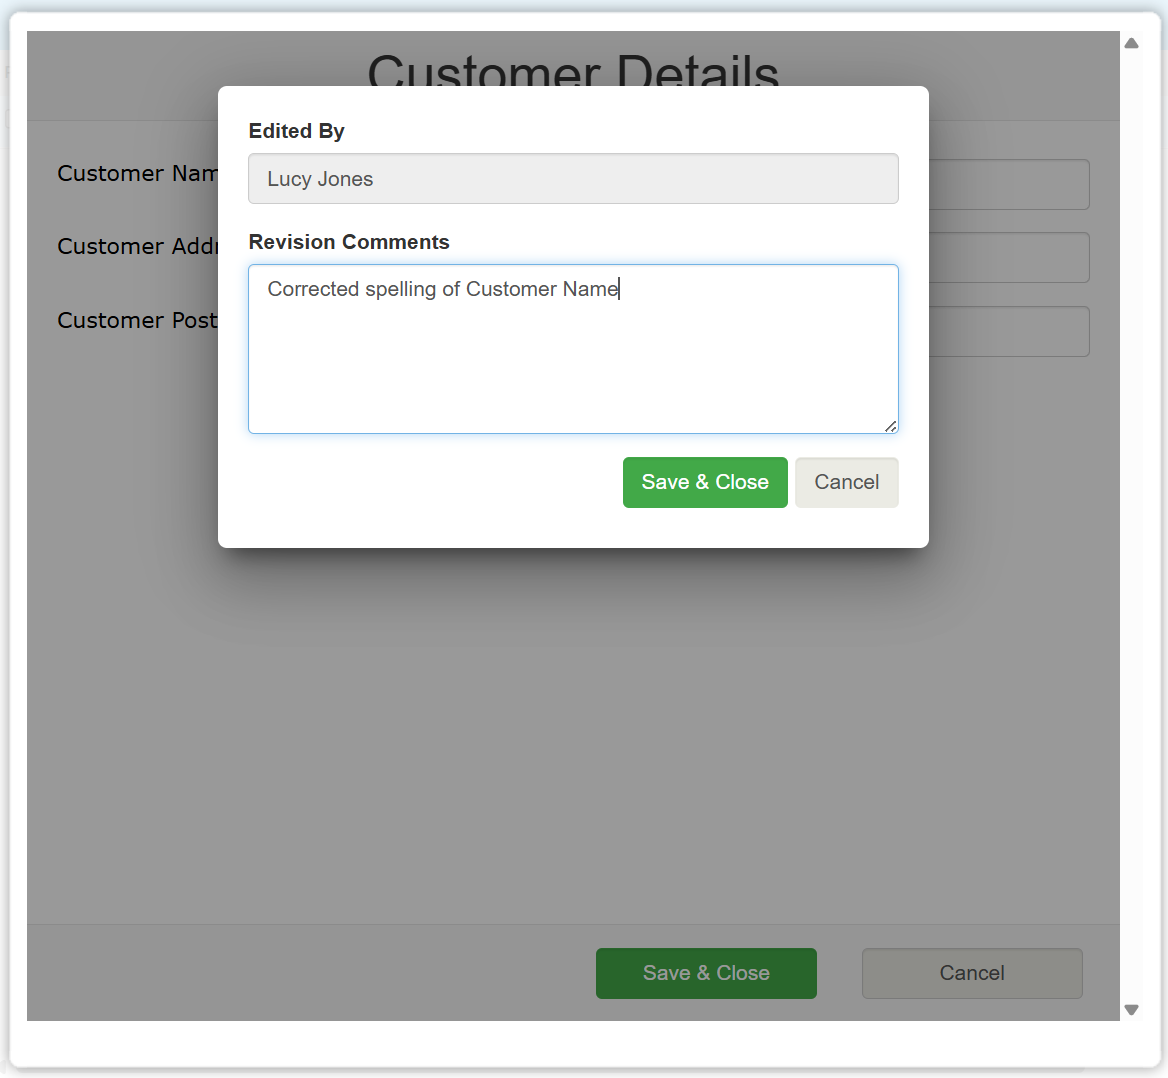
Once you are satisfied with the data provided for the Revision Comment, you can press Save & Close to confirm this. Pressing Cancel at this stage will return you to the Data Editor and allow you to continue editing data.
Editing a record will prompt an icon to appear within the Revision column in the Completed Records table. To check the Revision History of a record, select this Revision History icon.

The Revision History will show all edits made to the Form data and on the right-hand side of the table it will display the ‘Edited By’ and ‘Revision Comments’
